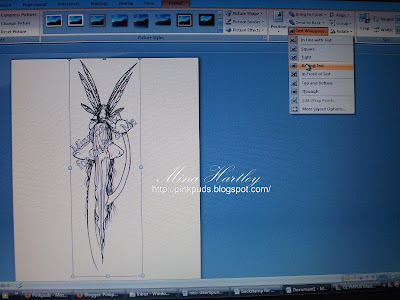
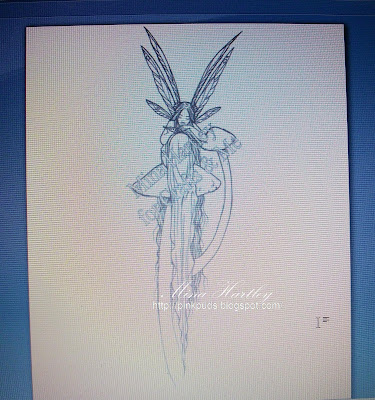
 Hi everyone Mina here, I have made this little tutorial to show you how I fade my digi's as used in the above card to give it a much softer feel and look, the digi I used is Into the Word by Sara Burrier, theres a couple of things you need to know first though, the only way your printer has of printing faded images is to miss out parts, so your image will appear in lines or pixels...there are a few other ways to do this, you can either just make the image brighter which fades it out but I found this also faded some of the finer lines of the image and lost some of the detail or you can print it on draft, I found this way looked really fuzzy, but both of these might work on your printer so give them a try, this is the way I did it though...I use MS Office Word for my printing but I would imagine all programmes have similar ways of doing the same things...right first add your image and click on text wrapping and behind text to make your image go behind what you add next, you can resize at this stage
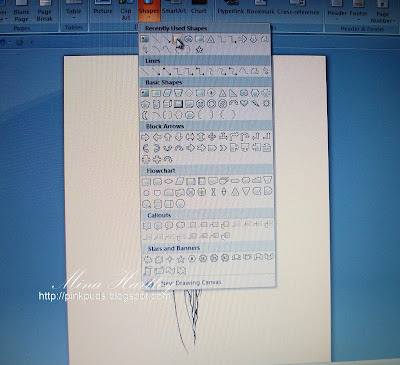
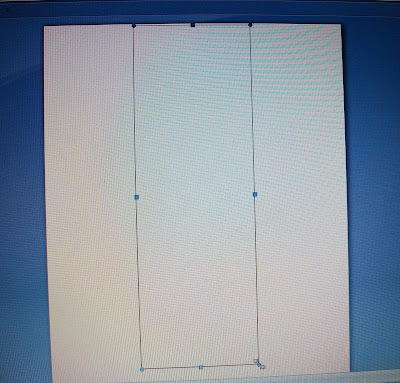
 then I went into Insert and Shapes and clicked on the rectangle you of course can use any shape you need it doesn't have to be a square just whatever covers your digi...click the page and add your rectangle and resize it to what you need
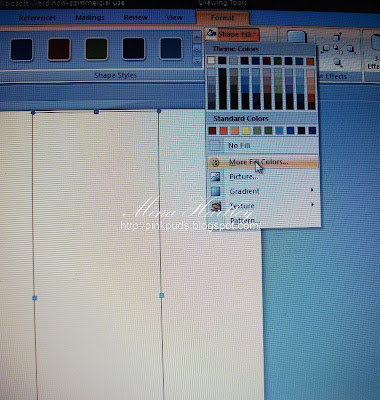
 then do the same as you did above format, text wrapping and this time make it in front of text so it is above your image covering it totally
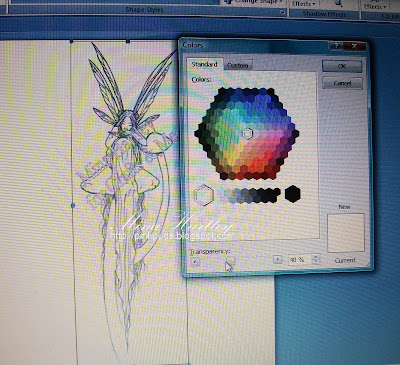
 this brings up the colours box, at the bottom is the gauge for transparency, I chose 40% but you can make it darker or lighter of course
 when you have finished choosing that you can choose if you want a shape outline to edge your box or shape or leave clear, the last photo shows the difference between a normal image and the faded one...then its just print as normal...hope this was easy to understand but if you need anymore info please just pop on over to my blog and my email is on my sidebar
Enjoy the rest of your day everyone
Mina xxx
Mina xxx
p.s. feel free to link to this post but remember don't lift or copy any of the images or info as it is copyrighted...thanks



Mina this is a great tutorial, easy to follow and a lovely idea.
ReplyDeleteThank you,
Teresa xx
Wow excellent tutorial looks fab x
ReplyDeleteThis comment has been removed by a blog administrator.
ReplyDeleteFab tut, Mina! I`m a total idiot when it comes to the computer, so it`s great to be fed it with a teaspoon, lol. Hugs...Mona
ReplyDelete