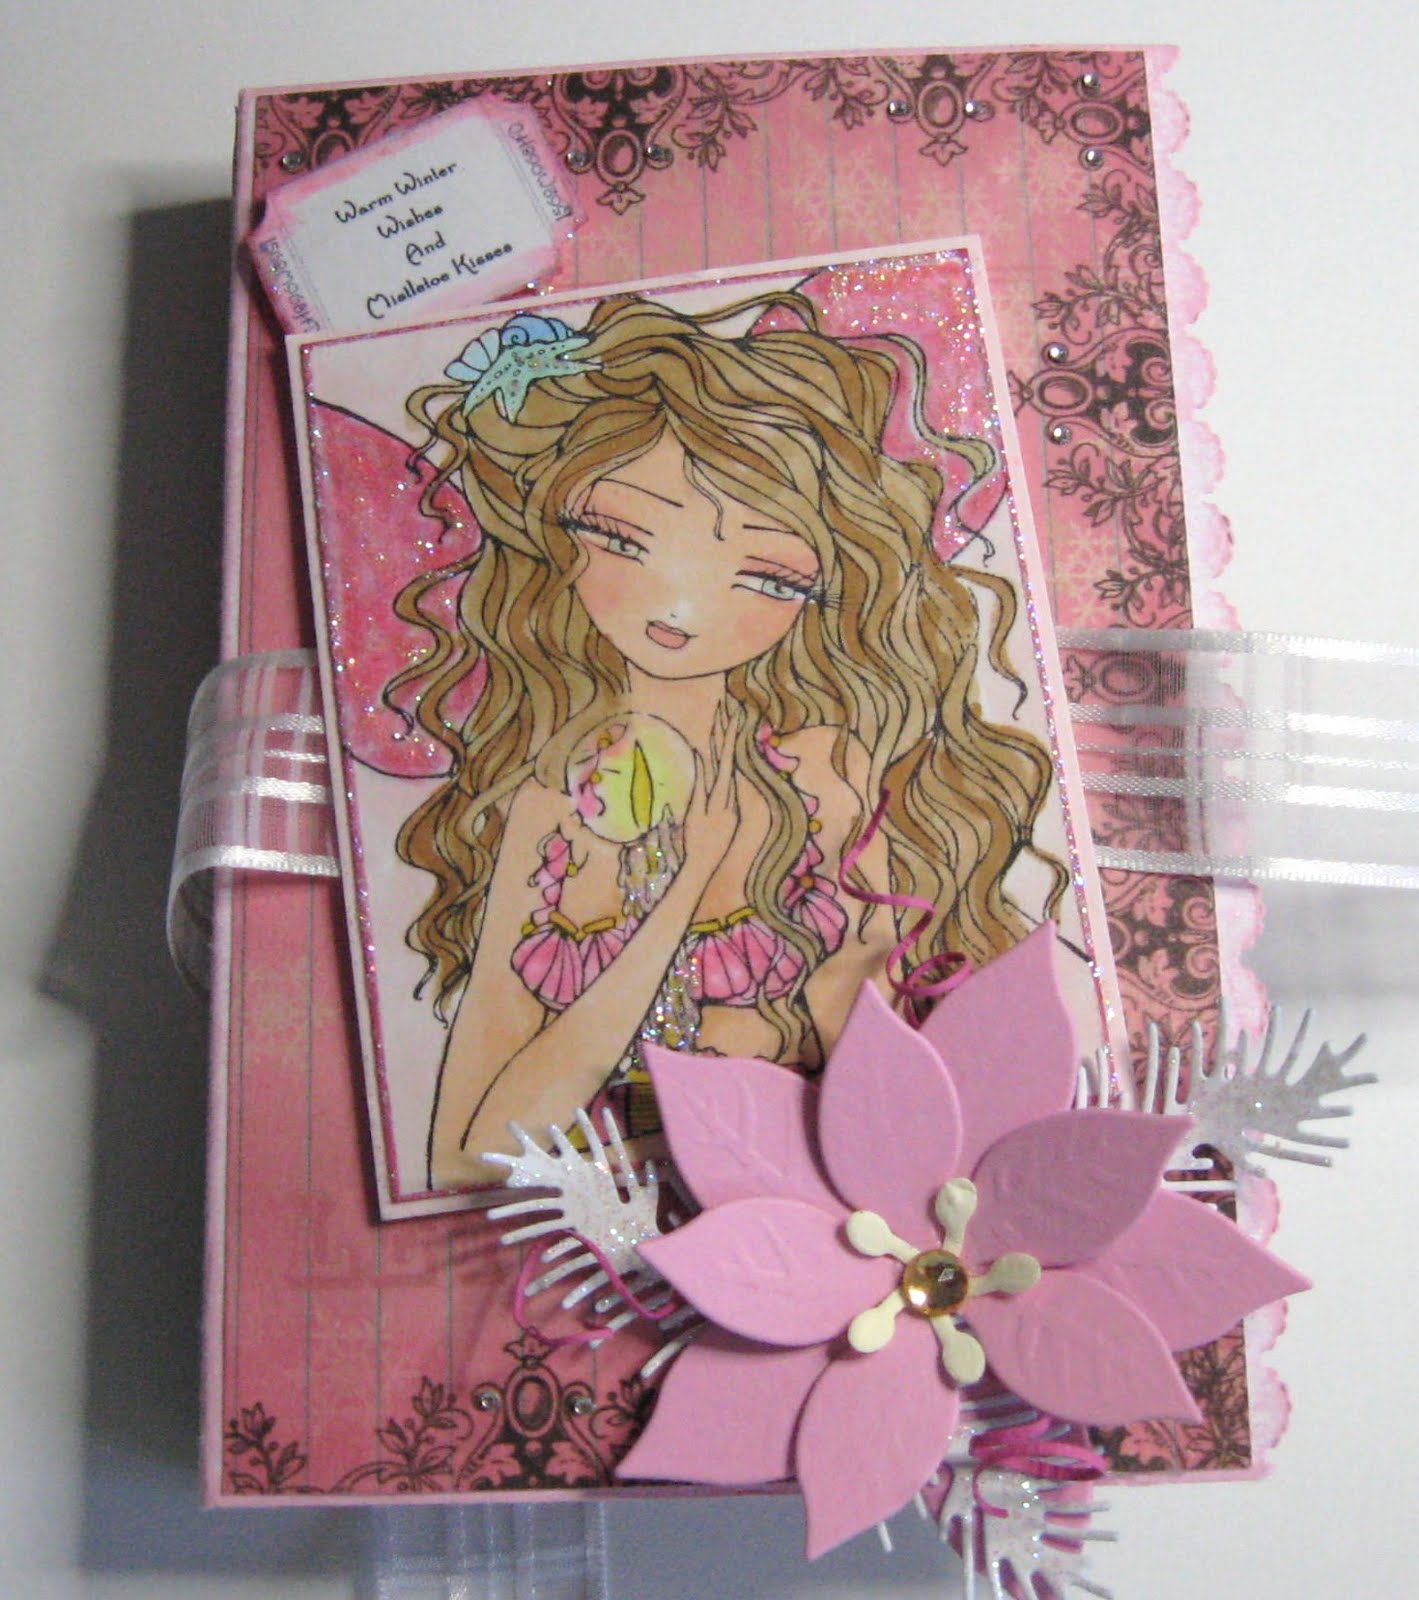
My turn to show you one of the fab new xmas images by Hannah Lynn which are released for sale next week only at Crafts & Me. This one is Candy Cane Angel - Aint she pretty! For the first showing I decided to do the colours pretty much as the original are but you can choose what colours you like for this kind of image.
I've made a tealight candle card which is really easy to make (I'll show you further down!) and make a nice little gift especially if you use scented candles Mmmmmmm :)
For the hair on Candy Cane Angel I used a promarker in cool aqua just around the edges of the lines and a few random strands here and there then used the blender pen to spread the blue out so there's no harsh lines. To make it super duper sparkly use a sakura stardust pen in clear. As its a large area you will usually get streaks so roughly colour in an area and before it dries use your little finger to smudge the pen in, this spreads the sparkle and loses the lines.
I've used a white gel pen to add highlights and lines and some stickles glitter glue on the fur.
To get the glow around her (If you want to!) I used lime zest roughly around the edges then cool aqua for the rest, coloured over with the blender pen to merge them and when still wet I added sky blue towards the outer edge.
I love how she turned out and she's an easy one to colour which you can also experiment with the colours too for more contemporary rather than traditional colours. She'll be available next week but you'll have to be quick as all the DT are after the full set!
********************************************
TUTORIAL - TEALIGHT CANDLE CARD
To make the tealight candle card you'll need a piece of A4, some tealight candles, some ribbon & a little imagination :)
There are some points to remember if you want to adapt this design and that is the size of the tealights. To add 4 you'll need to cut your card at least 15.5cm high, to add 3 would be about 11.5cm. Its important to remember to cut your card as close to the size of the tealights lined up as if your card is any more/less they'll stick out or rattle around!
OK I've made one with 4 tealights in so I've cut a piece of A4 lengthways to 15.5cm and trimmed it to 27.5cm wide.
Score at 1cm, 3cm, 7cm and 9cm, this is the box bit they sit in. I've made a very light score at 13cm (or you can draw a faint pencil line) This is just a guide to line your box up straight - don't score it!
Decorate the area which will be the candle holder how you wish, I've used a Hero Arts fabulous flourish stamp and versamark with gold pearlex and cut out a panel in the widest section (between the 3cm and 7cm score lines) You could use circle cutters, flourish dies or anything you like to do this but remember the cuttlebug is only 15cm wide so you'd have to improvise!
Make an extra piece 4cm x 15.5cm and decorate to match.
Once decorated glue the 1cm flap with a good quality adhesive and line your box up with the faint score line (or pencil mark) as shown previously and glue it down. Glue the back of your small piece and slide this into the base of the candle holder.
You should be looking something like this now :)
Make up your card as normal, mine is 15.5cm by 14.5cm and glue this onto the base of the tealight card. Wrap a length of ribbon around the tealights and you're done :)
Vix